
Sometimes the most beautiful cards come from the simplest ideas. Today I’m sharing a simple card making technique that gives you soft, stunning results — without extra tools, complicated steps, or a pile of supplies. It’s one of those techniques that looks like you spent way more time than you actually did… and I love that. If you’ve ever wanted to try something a little different but still keep it easy, this is for you. Whether you’re brand new to stamping or just need a fresh spark of inspiration, this simple card making technique is one you’ll want to add to your creative toolbox.
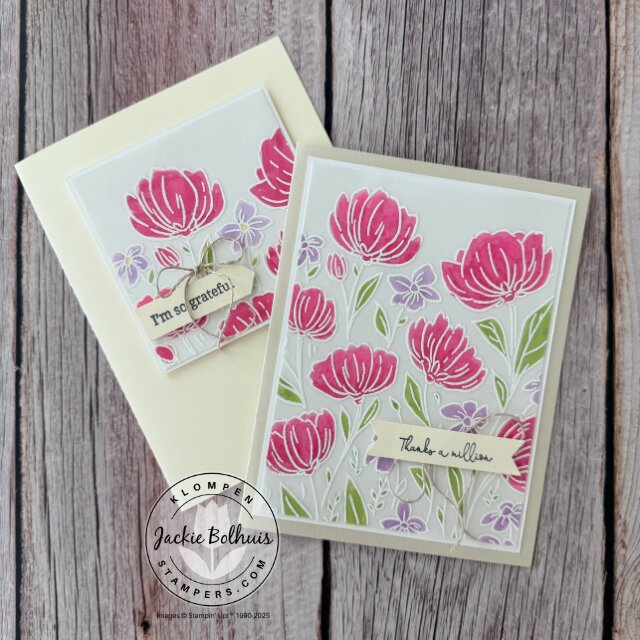
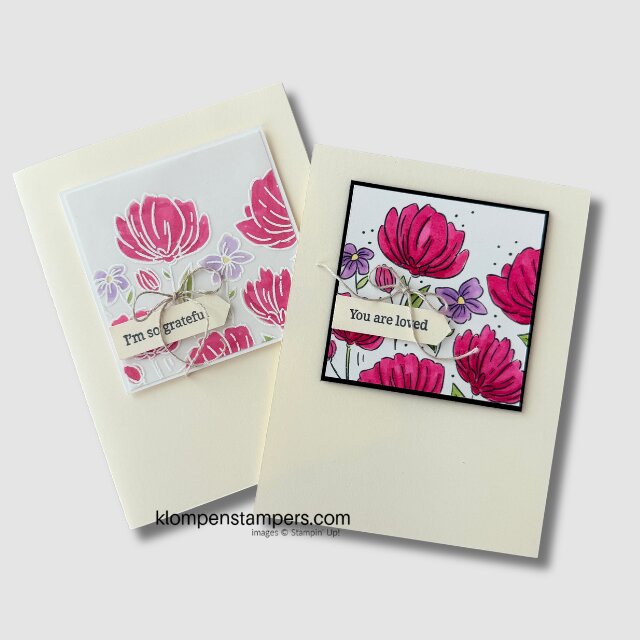
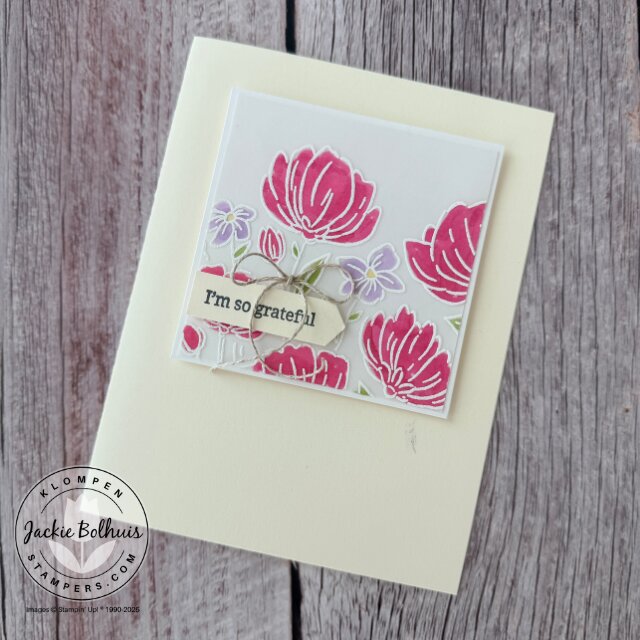
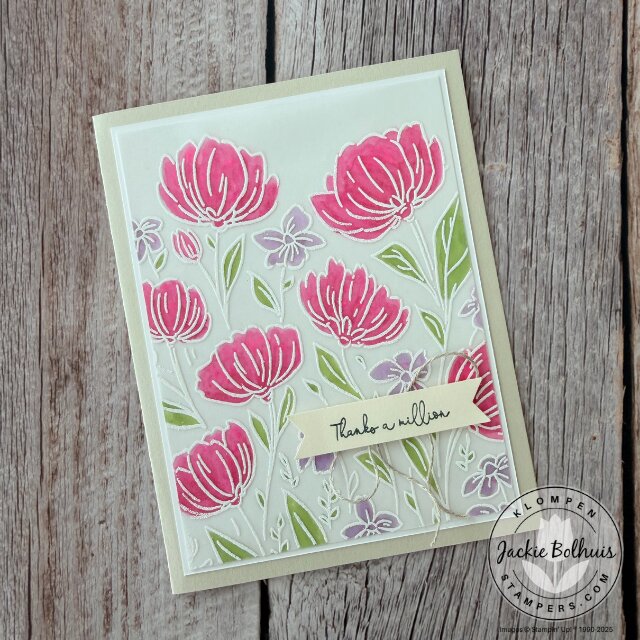
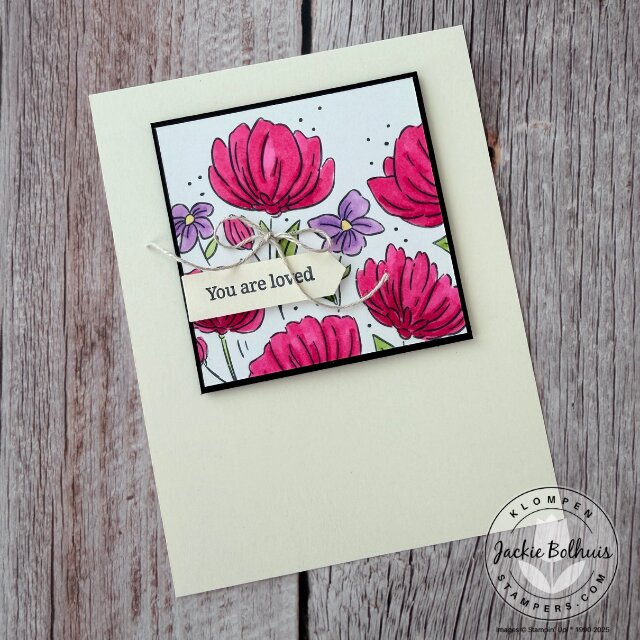
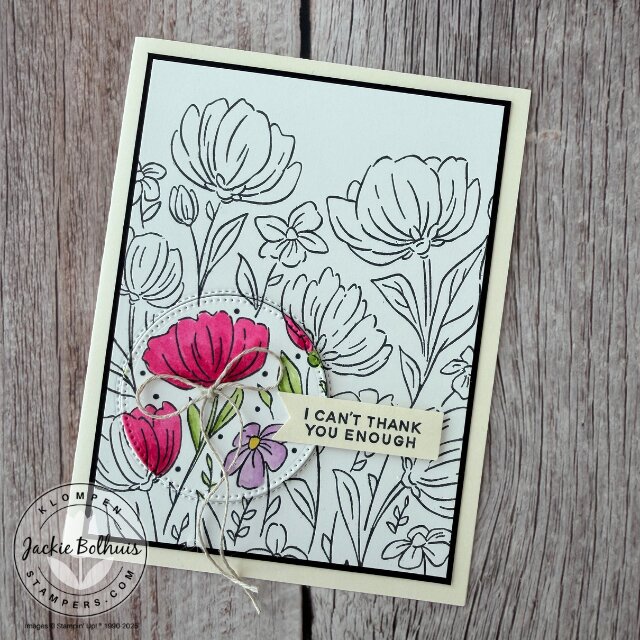
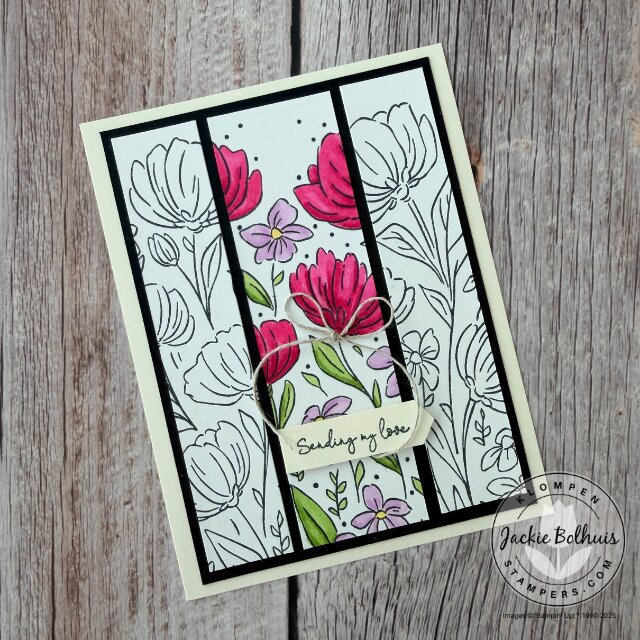
For this simple card making technique, I used the Flowers Fair stamp set for the beautiful floral images and the Banner Sayings stamp set for the heartfelt sentiments. I heat embossed the images using VersaMark ink, embossing powder, and a heat tool to create crisp, raised outlines before coloring. The smooth blending on the vellum was achieved using Stampin’ Blends, and I added a touch of texture with linen thread and a punched banner for the greeting. These Stampin’ Up! products work together to make this technique easy to achieve while still giving you polished, professional-looking results.
Watch the Simple Card Making Technique in Action
If you’d like to see exactly how this simple card making technique comes together, watch the video tutorial below. I’ll walk you through each step — from heat embossing the image to coloring on the back of the vellum for that soft, beautiful finish. This technique is easier than it looks, and once you try it, you’ll want to use it again and again.

CLICK HERE for my full supply list to make cards using this simple card making technique.
*The products used in this project were available for purchase while filming the video and/or writing this post. If something does not show in the list it is no longer available.
Card Measurements and Supply Details
Below you’ll find all the measurements for each card sample shared in the video. This simple card making technique can easily be adjusted to different sizes, but these measurements will give you a great starting point. Cut your pieces first, then follow along with the stamping, embossing, and coloring steps to recreate the look.
Measurements:
- Very Vanilla Card Base: 8 ½” x 5 ½”, scored at 4 1⁄4”
- Vellum: 3″ x 3″
- Basic White: 3 ⅛ x 3 ⅛”
Measurements:
- Basic Beige Card Base: 8 ½” x 5 ½”, scored at 4 1⁄4”
- Vellum: 3 ¾” x 5
- Basic White: 3 ⅞” x 5 ⅛”
Measurements:
- Very Vanilla Card Base: 8 ½” x 5 ½”, scored at 4 1⁄4”
- Basic White: 3×3
- Basic Black: 3 ⅛” x 3 ⅛”
Measurements:
- Very Vanilla Card Base: 8 ½” x 5 ½”, scored at 4 1⁄4”
- Basic White: 3 ¾” x 5”
- Basic Black: 3 ⅞” x 5 ⅕”
Measurements:
- Very Vanilla Card Base: 8 ½” x 5 ½”, scored at 4 1⁄4”
- Basic Black: 3 ⅞” x 5 ¼”
- Basic White: 5” x 3 ½”
- Cut into strips after stamping
- (2) 1”, center 1 ½”
March 2026 Specials & Happenings
Learn About All Specials & Happenings


Thank you so much for visiting my website today! I hope you enjoyed this quick and easy card making project. If you did, please leave us a comment below! If you have any questions, I would love to help you and answer them, just follow the link below to contact me. If you would like to place a Stampin’ Up! order, I would be thrilled if you selected me to be your demonstrator.
Contact Jackie | More Project Ideas | Card Tutorials | Stay Up To Date on Happenings
Browse Stampin’ Up! Catalogs | Shop Stampin’ Up! Products | Learn How to Shop at a Discount

Want more card making inspiration? Follow me on all my social channels.